

To screenshot on mac, use the keyboard shortcut command + shift + 3. This will capture the entire screen and save the screenshot to your desktop as a png file.
Screenshots are an incredibly useful tool for capturing and sharing information quickly and easily. Whether you need to show a colleague a specific error message, highlight a particular section of a document, or simply capture an image from a web page, screenshots can save time and improve communication.
However, if you’re new to using a mac, or if you’ve never taken a screenshot before, the process can seem a little daunting. In this article, we’ll explain how to take a screenshot on your mac, and offer some tips and tricks to help you get the most out of this useful feature.
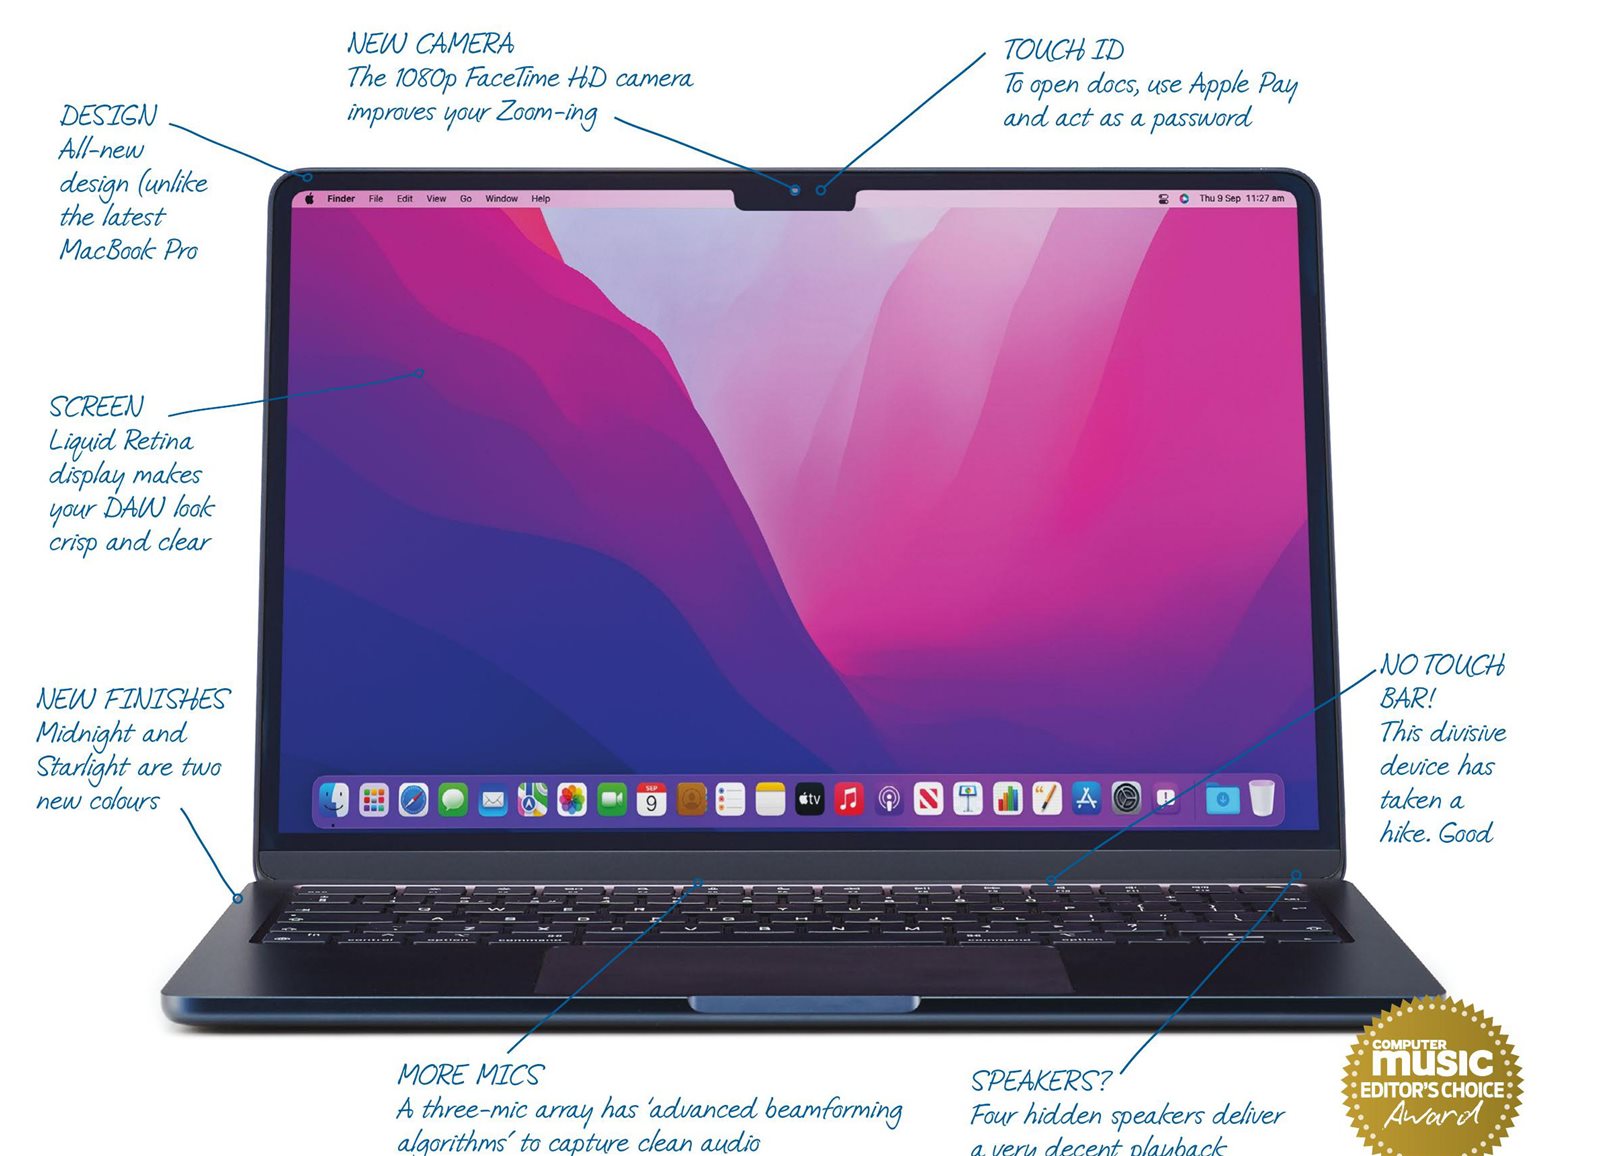
Credit: pocketmags.com
Why Is Knowing How To Screenshot On Mac Important?
Knowing how to take a screenshot on a mac is essential for a variety of reasons. Whether it’s saving important information, sharing something with friends or colleagues, or creating tutorial content, knowing how to screenshot on a mac can make life much easier.
With just a few simple steps, you can capture anything that’s on your screen and save it as an image file. This ability can be particularly useful for bloggers, designers, and anyone who works remotely. Taking a screenshot is a quick and easy way to communicate an idea or concept, and can help you save time and effort in the long run.
Once you master the art of taking screenshots, you’ll find a world of possibilities at your fingertips.
Understanding The Various Types Of Screenshots
Taking screenshots is an essential feature of any operating system, and macos is no exception. Mac users have a plethora of options when it comes to capturing screenshots. Full screen, partial screen, and timed screenshots are the three main types of screenshots one can take on a mac.
A full screen screenshot captures everything on your display, while a partial screen screenshot lets you select a specific area of the screen to capture. Timed screenshots offer a delay of up to 10 seconds before capturing the screenshot. Knowing these different types of screenshots and how to take them can help you efficiently and effectively capture images on your mac.
Advanced Screenshot Techniques And Tips
Advanced screenshot techniques are an ultimate necessity in today’s digital age. If you own a mac, you’re in luck! Taking screenshots with shadows and reflections couldn’t be easier. First, press “command + shift +5” on your keyboard, which opens the screenshot bar.
From there, select either “show mouse pointer” or “options,” depending on your preference. Next, drag your cursor over the area of the screen you want to capture. Finally, save your screenshot to the desired location, and voila! Within seconds, you have a perfectly captured screenshot with a striking shadow or reflection effect.
Give it a try next time you’re screenshotting on your mac, and witness the amazing results for yourself!
Troubleshooting Common Screenshot Problems
Taking screenshots on a mac can be a breeze, but sometimes problems arise. Some common issues include the screenshot not saving or the screen appearing dimmed. Don’t fret! Troubleshooting these problems is easier than you think. If your screenshot isn’t saving, check if your keyboard has a function key (fn) and use it with the screenshot command.
If the screen appears dimmed, make sure you have the right folder selected for saving screenshots. You can also try resetting the screenshot app to its default settings. By following these simple troubleshooting tips, taking screenshots on your mac should be a hassle-free experience.
Frequently Asked Questions Of How To Screenshot O N Mac
How Do I Take A Screenshot On Mac?
To take a screenshot on a mac, press the command + shift + 3 keys on your keyboard. The screenshot will be saved to your desktop automatically. You can also use command + shift + 4 to select a portion of the screen.
How Do I Take A Screenshot Of A Window On Mac?
To take a screenshot of a window on your mac, press command + shift + 4 first, then press the space bar. When the cursor turns into a camera icon, click on the window you want to capture. The screenshot will be saved to your desktop.
How Do I Take A Screenshot On Mac With A Touch Bar?
To take a screenshot on a macbook with a touch bar, press the shift + command + 6 keys. The screenshot will be saved to the desktop. Alternatively, you can press the shift + command + 5 keys to use the screenshot app options.
Where Can I Find My Screenshot On Mac?
Your screenshot will be saved to the desktop automatically. If you take a lot of screenshots and want to organize them, you can create a new folder on your desktop to store them.
What Format Are Screenshots Saved In On Mac?
Screenshots are automatically saved in png format on your mac. If you want to save them in another format such as jpeg, you can use the preview app to convert them after taking the screenshot.
Conclusion
Overall, learning how to take screenshots on your mac is a simple process that can save you time and energy. Whether you need to capture a funny meme or a serious business report, you can easily take a screenshot using one of the methods described above.
Additionally, by using keyboard shortcuts, you can save yourself even more time and streamline your workflow. With the ability to take screenshots on your mac, you can now easily save and share important information with others. So why not give it a try and see how easy it is to capture your screen on your mac?
With practice, you’ll be screenshotting like a pro in no time.


